How to schedule jobs?
Creating a schedule enables a seamless import of job information into the OFS console. This provides operators with the advantage of selecting the next job easily.
Managing the orders within Fusion Manager
Please view video on the process of managing product schedules in Fusion Manager below:
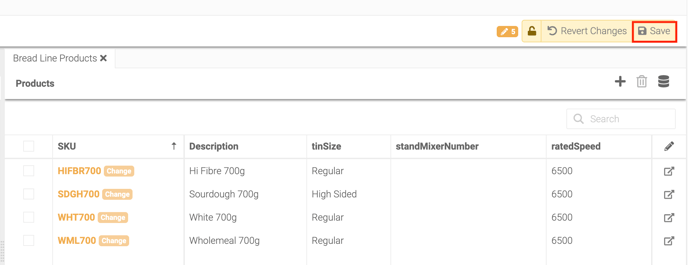
Step 1 - In the 'Products' tab, select the line you'll be creating a job schedule.

Step 2 - Select a SKU e.g. Hi Fibre 700g.

Step 3 - Click Advanced Settings.

a) In 'quantity', enter the Units to Make quantity.
b) Select the Line in which this SKU will appear.
c) In 'Schedule Start', set the date and time. 
d) Ensure 'Product/Order can run more than once' is toggled on if the SKU is produced ongoing.
e) Click Update.

Step 4 - To set the job schedule for the rest of the production run, repeat Steps 2 and 3 for all other SKUs.
Step 5 - Once the job schedule is set, it will be visible on the JOB screen within the OFS console.
NOTE: The job that is schedule to run next will now be at the top of the list.

Importing job schedule via CSV file
Please view video on the process of managing product schedules using our Import/Export tool below:
Step 1 - Click on the Import/Export button on the product list

Step 2 - Click Export

Step 3 - Ensure to enter a value in ScheduledStartTime and Quantity if you want these values to be pre-determined in the job list
Jobs will not start automatically in OFS and must still be selected and started by an Operator.

Step 4 - Save changes in Excel. In Fusion Manager, click 'Choose File', select the file, click 'Import'

Step 5 - Save changes to the product list in the top right
